
Due to some unforseen circumstances we weren't able to run a big siege game, but AirborneGrove and I managed to get in a few games around the castle and it looked fantastic. I will post a battle report in a later post... well..... multiple battle reports BECAUSE OHITNW WAS AMAZING!!
I promised a post about painting the fortress, and I shall deliver!!
Once the construction was complete and gaps were filled with....... well gap filler, I brushed on a layer of hydrocal over all the areas where either bare earth or grassy patches would be. Then I applied a couple layers of Foam Coat to the fortress and select areas of the ground, being careful to avoid the rocks. I also sprinkled sand and talus rocks from Woodland Scenics to create a more natural ground look.


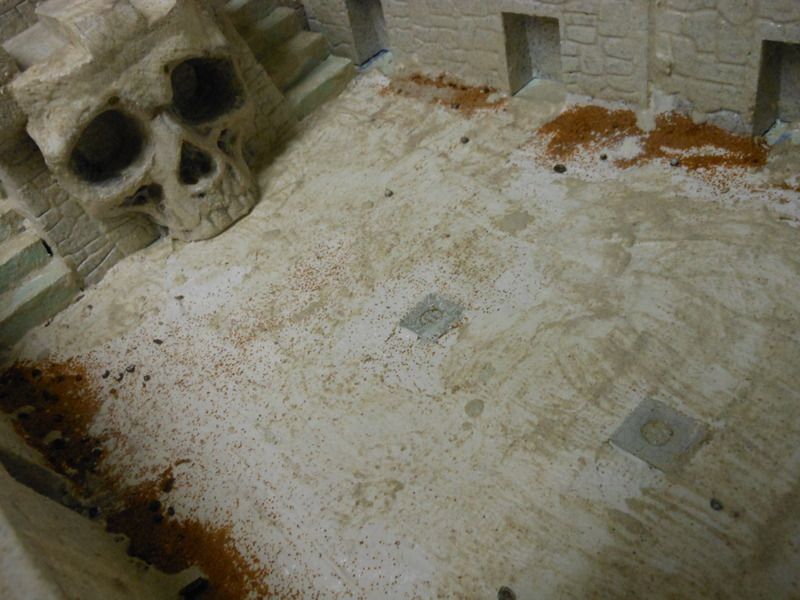
Once everything was drying, I dusted the ground with plaster and spayed it with a mix of PVA glue and water and let it sit overnight.
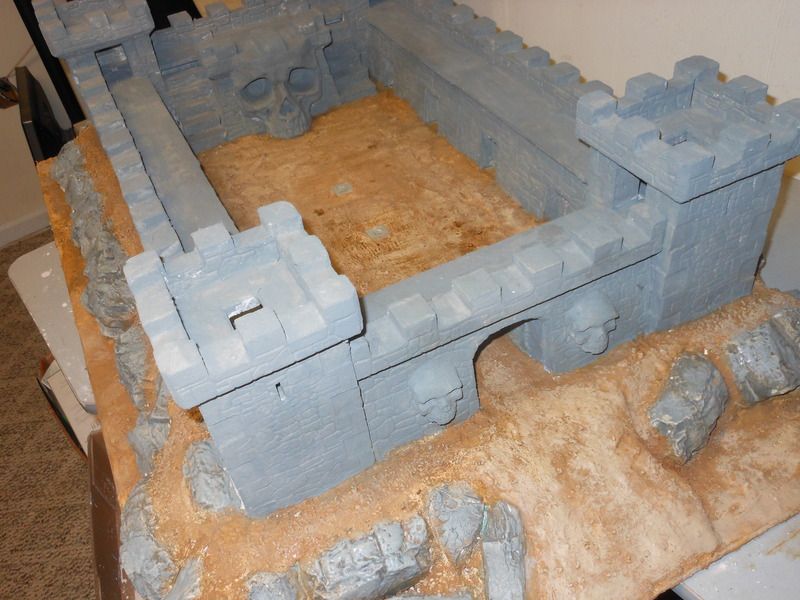
The next step was to block in colors. The fortress was painted a gray tone using craft paints. The idea was just to get as much coverage as possible. I really wanted to avoid the old "Codex Grey, Black Wash, Drybrush" look, so I mixed a little pale sand color in with my gray.
All the rocks were coated with a similar color. The ground was painted with a diluted earth color that almost looked like a cup full of watery baby poop. Again, coverage was the goal. I let the base coat dry overnight.
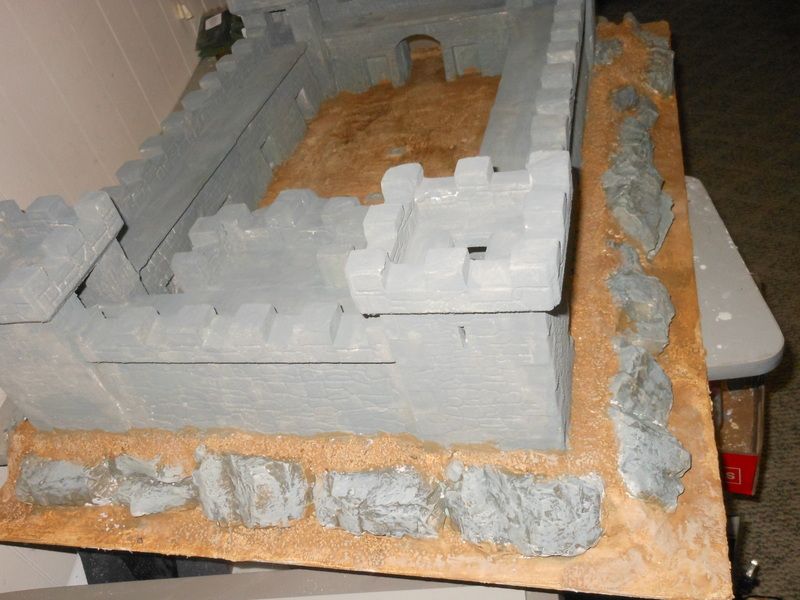
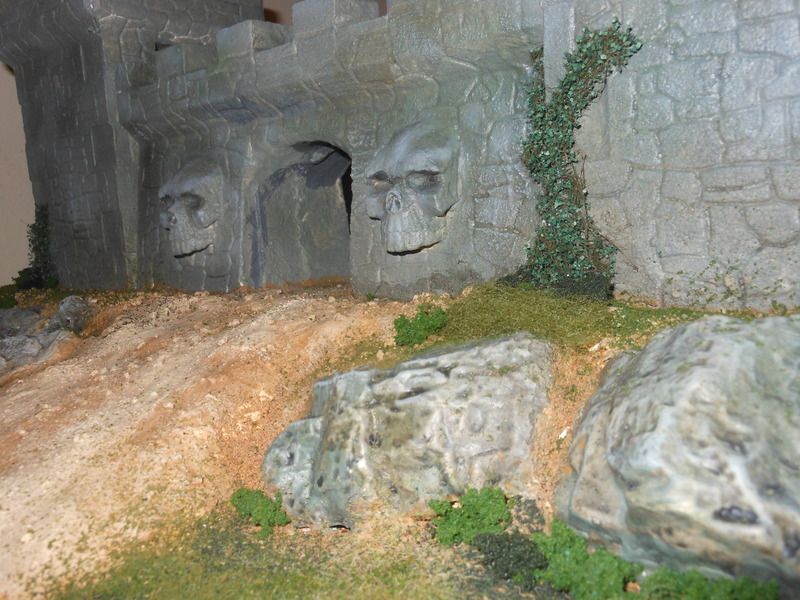
The next step was to add ground cover. I used several layers of woodland scenics turf to create the ground cover and sprayed in with a mic of water and PVA and let that dry overnight. I also added a few small bushes and even some climbing ivy on the front wall.
Once I let it sit overnnight (again!) I sprayed everything with several layers a mix of water and minwax polycrylic to lock everything in place and protect the paint job. I did several layers and then a few coats of spray on matte varnish to protect it from game play.

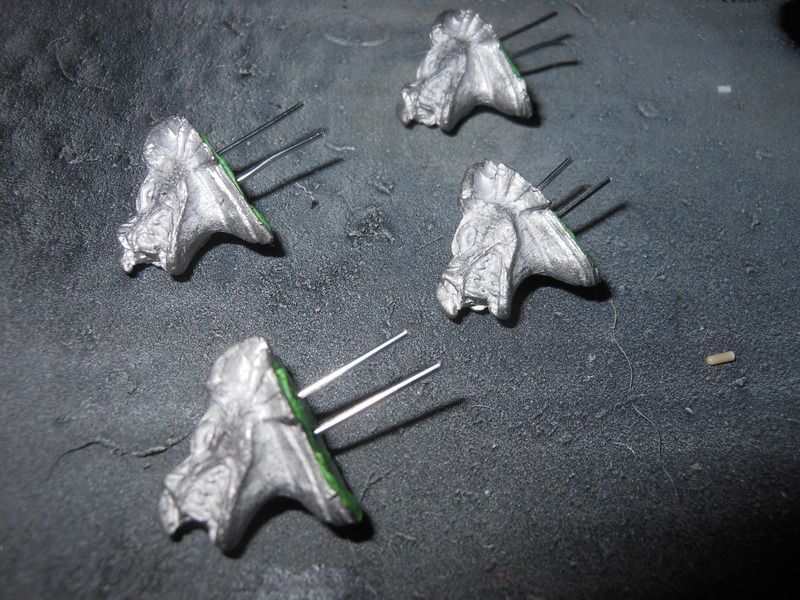
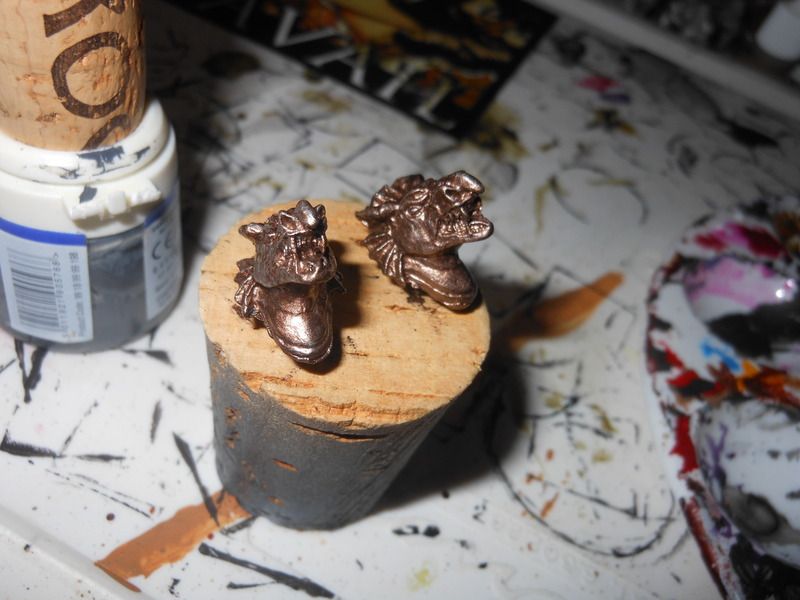
As the minwax dried, I prepared some dragon heads I found in a store. I painted the a brass color and weathered them using the GW verdigris effects paint. They were secured using a combination of long pins and PVA glue.
The final product looks a little something like this:
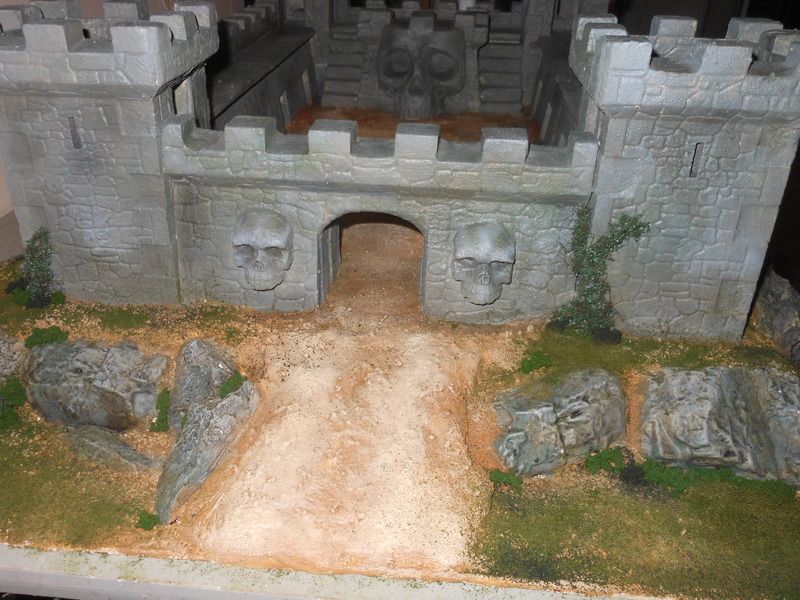
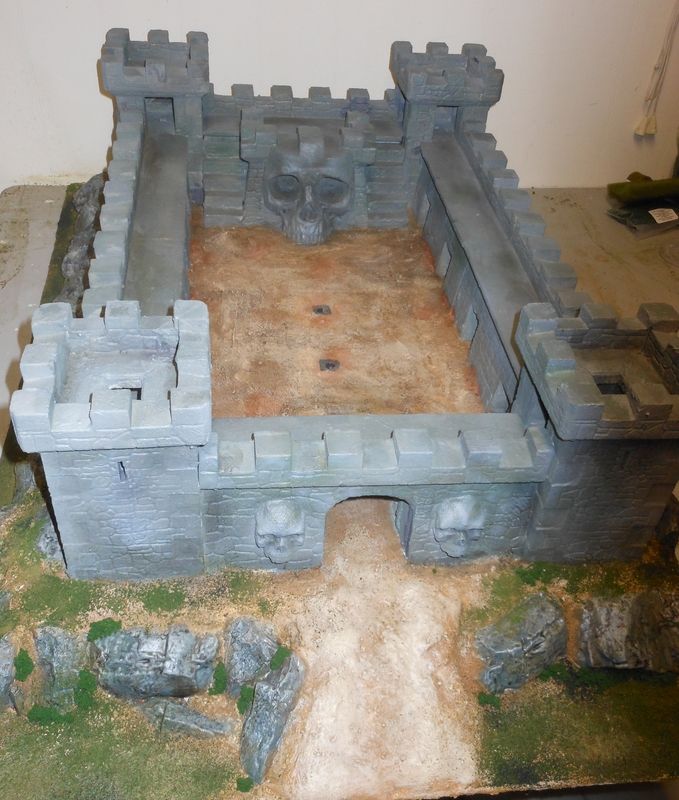
Overall I am very happy with the final product. My camera doesn't really do it any justice. We took plenty of pictures at OHITNW and i'm sure there will be many many battles to come. We are already talking about using it as a centerpiece for an Army of Darkness style siege scenario.
I learned alot and I can't wait to tackle more terrain projects!
That looks great! I hope you get to do the 'Army of Darkness' battle, I've never seen anybody try it before!
ReplyDeleteThanks for sharing the build pics. It was a great looking terrain piece. I wish I had been able to play on it. Next time.
ReplyDeleteDon't worry, it will be at the next event as well!
Delete